Problems, Causes and Solutions of Full Denture Fabrication
2024-04-07
Problems, Causes and Solutions of Full Denture Fabrication
honchon smile is a brand who specialized in selling dental lab and dentist materials on line. There have many products like dental zirconia blocks, There are many products like dental zirconia blocks, multilayer zirconia, dental PMMA, PMMA blocks, wax blocks, denta milling burs. Our products are mainly sold to denture makers and this blog lists some common failures and problems in the process of full denture making and their solutions, hope it can help you.
Problem 1 Air bubbles in the impression
Causes
① Improper water powder ratio
② Incorrect mixing speed and direction
③ Uneven shaking
Solution
①Appropriate ratio of water powder (hard gypsum and water ratio of 1:3)
②Mixing speed is uniform, direction consistent
③Shake evenly and adequately
Problem 2 model data measurement is not accurate
Cause
① measurement with "flying edge" interference
② improper use of vernier calipers
Solution
① use the carving knife to remove the excess edge and then measure
② correct use of vernier calipers
Problem 3 line drawing problem
Problems
①When drawing the line, the line is not on the top of the alveolar ridge
②The line does not extend to the edge of the model
Cause
Wrong pointing
Solution
① Accurately locate the position of the anterior molar
② All lines are extended to the edge of the model
Problem 4 Inaccurate thickness of the abutment
Cause
Uneven application of the separator, too thick or too thin, affecting the thickness of the abutment.
Solution
Apply the separator evenly and in the right amount
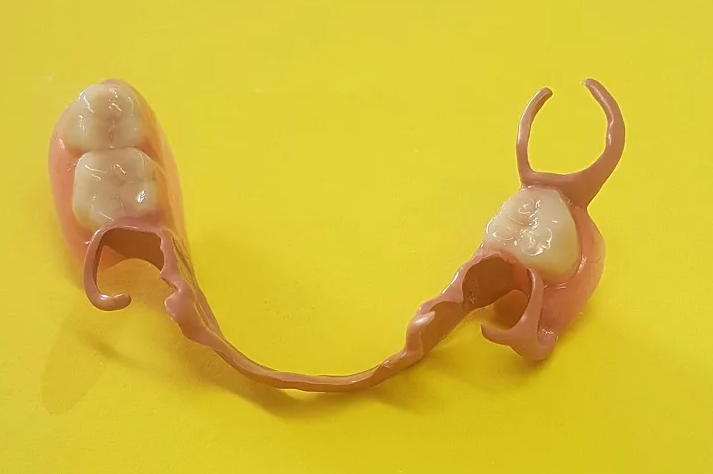
Dental PEEK Blocks
Problem 5 The edge of the base tray does not fit tightly
Cause
The wax sheet is not soft and compacted
Solution
Soften the wax sheet and fully compact it. Apply pressure from the inside of the model to both edges.
Problem 6 Wax dike problem
Problems
①Wax dike appears to be layered
②Incorrect curvature
③Wax dike surface is not flat
④The size of the wax dike and the angle of the plane with the teeth is wrong
Cause
①The wax was not compacted when rolling
②The wax dike is not accurately placed on the top of the alveolar ridge
③Uneven force when pressing the glass plate
④Not accurately measured the size and angle of the wax dike
Solution
①Compact the wax sheet when rolling the wax
②Press the glass plate with even force
③accurately measure the height and width of the wax dike (11cm high at the maxillary midline, 8cm high at the maxillary tubercle, 10cm high at the mandibular midline)
④ Correctly trim the angle of the wax dike (85° for the maxillary and coaptation plane, 80° for the mandibular and coaptation plane and above)
Problem 7 Error in separating the reset plate
Problems occurring
①Incorrect placement of the iron sheet or not placed iron sheet
②The edge of the tape is not pressed tightly
③The thickness of the reset plate is too thick or too thin
④Not hit the inverted concave
⑤When taking off, the reset plate is broken
Cause
①Reset plate is not cleaned
②Reset plate is too thin or take when there is no force point
③Take down the reset plate too early
Solution
①Clean the reset plate before filling the model, the correct placement of the iron sheet
②Determine the thickness of the reset plate (3~5mm above the tip)
③When the plaster is completely solidified, then take the reset plate, and determine a force point before taking
Problem 8 Maxillary frame problem
Problems
①Cut guide pin floating
②Anti-dentition occurs
③The maxillary model is not in the correct position of the dental planes
Causes
①Reset plate and model are not completely wetted
Removal of the weight before the cemented plaster is completely solidified
The model or reset plate is too thick, so that there is no contact between the cutting guide pin and the cutting guide plate
②Reversing the upper and lower dentition
③Model midline and the jaw plane midline is not right, press the bracket to move the bracket left and right
④The plaster used for bonding is adjusted too thick so that the operation time is too short
Solution
①Completely wet the restoration plate and the dental bracket, and wait for the solidifying plaster to completely solidify before continuing to work.
②Invert the dental bracket to the upper and lower jaw models
③Place the dental bracket in the correct position before putting it on the teeth, and press down the dental bracket vertically to make the dental bracket stable.
④Make suitable thickness of plaster
The above is the collation of HONCHON SMILE, if you want to know more, welcome to contact us to get cooperation.


